一 . MinGW下载
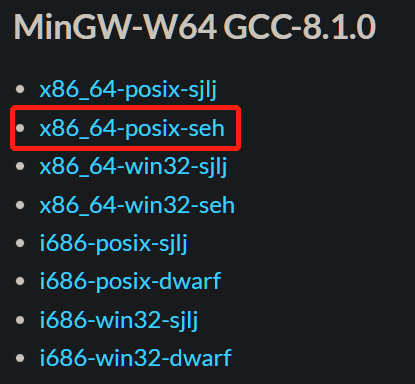
下载地址:https://sourceforge.net/projects/mingw-w64/files/mingw-w64/mingw-w64-release/

选择红色框里的x86_64-posix-seh。
下载后打开解压到你想要的位置。
二. 配置系统环境
打开编辑系统变量 ;
打开系统变量里的Path;
新建变量, 将刚才解压后的MinGW里Bin文件夹的绝对路径添加进去;
保存并退出。
三. VS Code,插件下载
下载VS Code本体软件
安装C/C++插件
安装好插件后重新打开VS Code.
四. 配置文件
1. tasks.json, launch.json配置
注意: 先配置tasks.json , 再配置launch.json.
以自己实际情况, 按照以下配置代码里的注释来配置.
1
2
3
4
5
6
7
8
9
10
11
12
13
14
15
16
17
18
19
20
21
22
23
24
25
26
27
28
29
30
31
32
33
34
|
{
"tasks": [
{
"type": "cppbuild",
"label": "C/C++ Debug",
"command": "D:/MinGW/mingw64/bin/gcc.exe",
"command": "D:/MinGW/mingw64/bin/g++.exe",
"args": [
"-fdiagnostics-color=always",
"",
"-g",
"${file}",
"-o",
"${fileDirname}/bin/${fileBasenameNoExtension}.exe",
"-fexec-charset=GBK",
],
"options": {
"cwd": "${fileDirname}"
},
"problemMatcher": [
"$gcc"
],
"group": {
"kind": "build",
"isDefault": true
},
"detail": "Task generated by Debugger."
}
],
"version": "2.0.0"
}
|
1
2
3
4
5
6
7
8
9
10
11
12
13
14
15
16
17
18
19
20
21
22
23
24
25
26
27
28
29
30
31
32
33
34
35
|
{
"version": "0.2.0",
"configurations": [
{
"name": "(gdb) Launch",
"preLaunchTask": "C/C++ Debug",
"type": "cppdbg",
"request": "launch",
"program": "${fileDirname}/bin/${fileBasenameNoExtension}.exe",
"args": [],
"stopAtEntry": false,
"cwd": "${workspaceFolder}",
"environment": [],
"externalConsole": true,
"MIMode": "gdb",
"miDebuggerPath": "D:/MinGW/mingw64/bin/gdb.exe",
"setupCommands": [
{
"description": "Enable pretty-printing for gdb",
"text": "-enable-pretty-printing",
"ignoreFailures": true
}
]
}
]
}
|
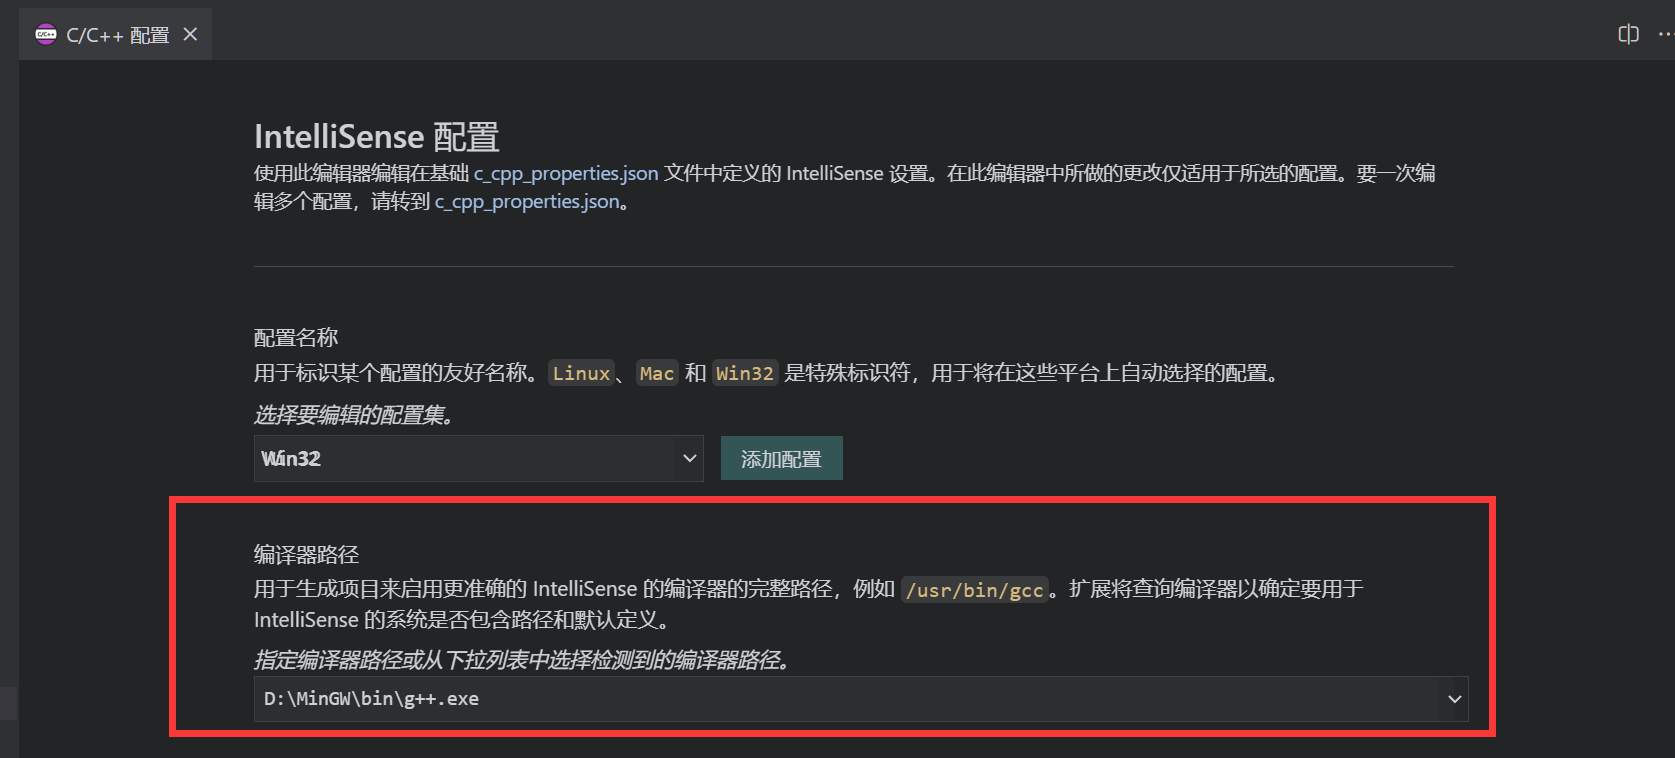
2. C/C++插件配置
- 按住Ctrl+Shift+p , 搜索找到
C/C++: Edit Configurations (Ul)并打开. - 找到
编译器路径选项, 选择MinGW里Bin夹的g++.exe. - 重新打开VS Code.
至此已完成VS Code配置C/C++编译环境.